Quotation and Order Settings
On the "Quotations" and "Orders" pages of the Settings menu you can set the statuses, the PDF footer and the content templates of quotations and orders. The two pages are built the same way, both have three tabs: "Statuses", "PDF footer" and "Templates". Their settings are independent, though: what you set for quotations does not affect orders, and vice versa.
The pages require the "Quotation settings" and the "Order settings" permission respectively (the "Owner" role has access to everything). Roles can be set up here.
Statuses
The status shows where a quotation or an order stands. On the "Statuses" tab you can adapt them to your own process.
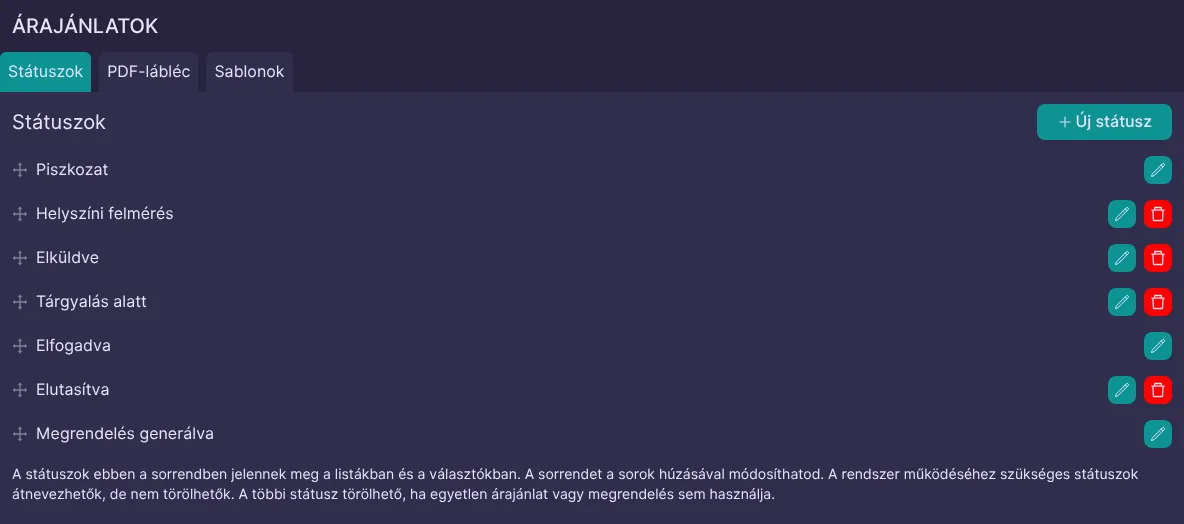
- Add a new status with the "New status" button.
- Rename a status with the pencil icon at the end of its row.
- Change the order by dragging the rows by the icon at their start.
- Delete a status that no quotation or order uses with the trash icon.
The statuses appear with their set names and in their set order everywhere: in the lists and their filters, in the editors, on the charts of the statistics and in the conditions of automated processes.
Default statuses
Every company starts with the same statuses:
- Quotations: Draft, Sent, Accepted, Rejected, Converted to order.
- Orders: Draft, Sent, Confirmed/Signed, Cancelled, In progress, Completed.
Companies in Hungary get them with Hungarian names, all other companies with English names. Status names do not follow the interface language: everyone sees the names you have set.
The system relies on some of the statuses. You can rename these, but not delete them, and they work the same way after being renamed:
- "Draft", "Accepted" and "Converted to order" for quotations: no order can be generated from a quotation in "Draft" status. When an order is generated, the quotation automatically gets the "Converted to order" status, and if the order is deleted later, the quotation goes back to "Accepted".
- "Draft", "Cancelled" and "Completed" for orders: orders created by automated processes start in "Draft" status, and a cancelled or completed order can no longer be edited.
Any other status, including the other default ones, can be deleted if no quotation or order uses it.
PDF footer
Every page of the PDF of a quotation or an order has a footer at the bottom, with the page number on its right. On the "PDF footer" tab you set the text shown in it. The footer appears the same way on a saved PDF and on one sent by email.
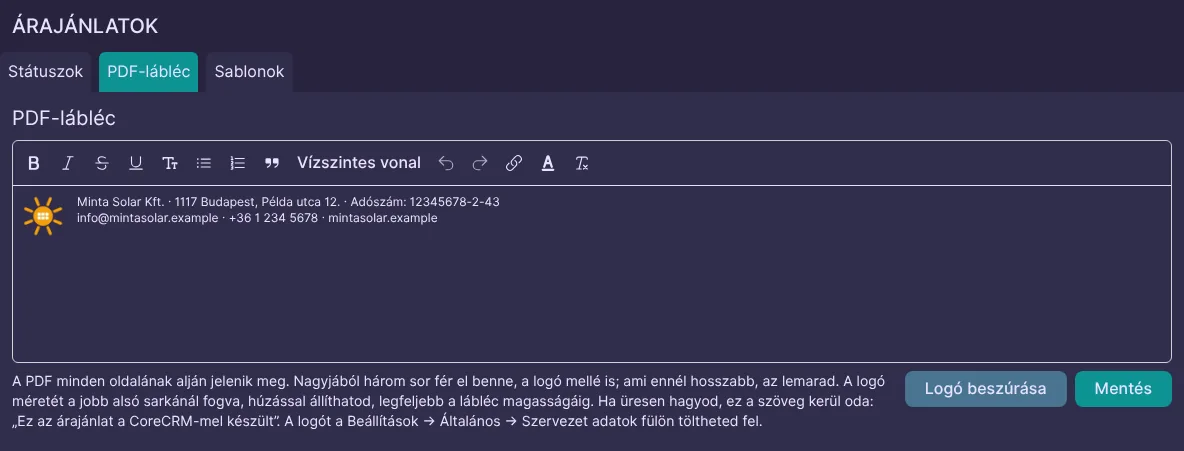
- You can format the text with the usual text editor.
- The "Insert logo" button puts your company logo into the footer, and the text continues next to it. You can resize the logo by dragging its bottom right corner, up to the height of the footer. The button appears once the logo has been uploaded on the General page of the Settings menu.
- About three lines fit in the footer, next to the logo too. Anything longer is cut off at the end.
- If you leave the footer empty, the default text appears: "This quotation has been made with CoreCRM" or "This order has been made with CoreCRM".
The footer gets a copy of the logo, so if you change the logo later, the old one stays in the footer. In that case, delete the old logo from the footer and insert it again.
It is worth checking the result after setting it up: the "PDF preview" button on the preview of a quotation or an order opens the PDF in a new browser tab, exactly as it is created when it is saved or sent by email.

Templates
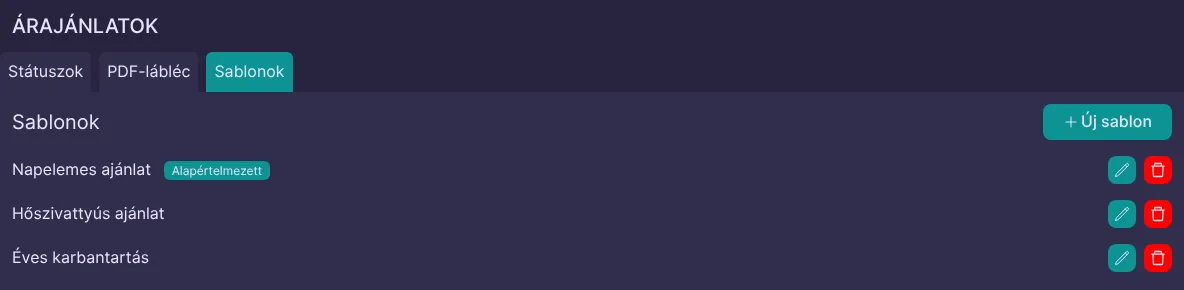
On the "Templates" tab you can create templates for the "Content" field, so you do not have to write frequently used text again for every quotation or order. Create a new template with the "New template" button, and edit or delete existing ones with the buttons at the end of their rows.
A template needs a name, and its text can be formatted the same way as the "Content" field. The buttons above the text insert data at the cursor:
- the client's name, tax number, email address, postal code, city and address,
- the assigned user's name and email address,
- the subject (for quotations),
- your own company's name, tax number, email address, postal code, city and address,
- today's date,
- the values of the custom fields shown on quotations or orders respectively.
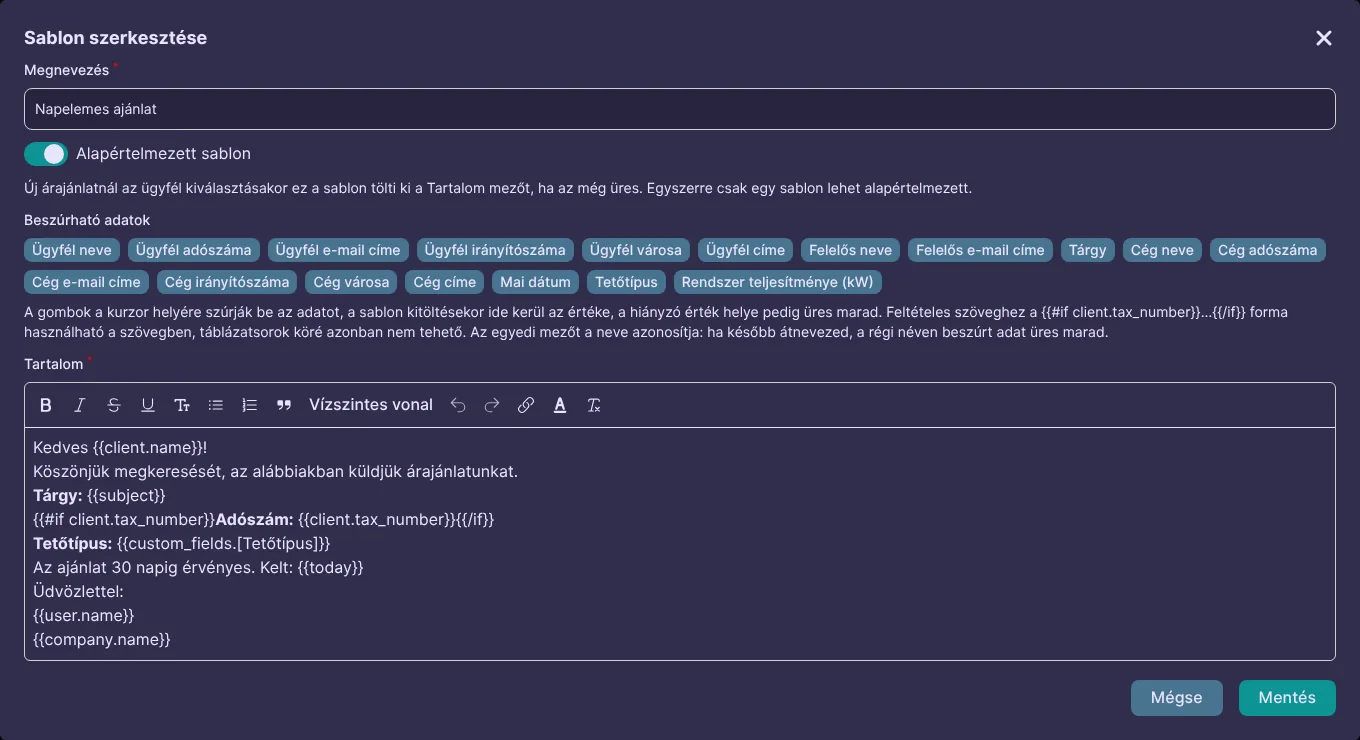
When the template is inserted, the data is replaced with the values currently given on the form, and missing data is left empty. The client's email address is the email address of their primary contact. On a new quotation or order, the client's custom field values are only taken over when it is saved, so the template only gets the values of the custom fields already filled in on the form.
You can also write conditional text that only appears if the given data is filled in. For example, this line only appears for clients who have a tax number: {{#if client.tax_number}}Tax number: {{client.tax_number}}{{/if}}. Conditions cannot be placed around table rows, though.
A custom field is identified by its name: if you rename the field later, the data inserted under the old name stays empty, so replace it in the template too.
Default template
You can mark one template as the default, one for quotations and one for orders. On a new quotation or order, the default template fills in the "Content" field when the client is selected, if the field is still empty.
Inserting a template
If there is at least one template, the "Insert template" field appears above the "Content" field in the quotation and order editors. Select any template there and load it with the "Insert" button. If the "Content" field is not empty, the system asks for confirmation first, because the template replaces the existing text.
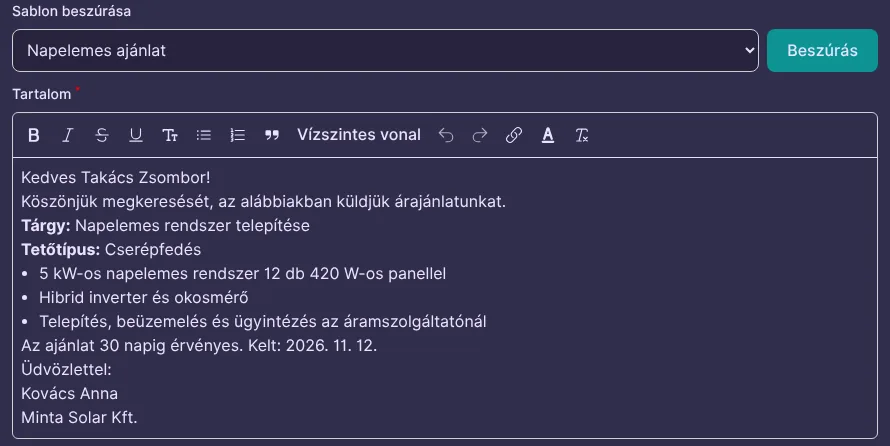
The inserted text can then be edited freely, and later changes to the template do not affect it. If some data was still missing when you inserted the template (for example, you only chose the assigned user later), insert the template again to update the text, but note that this also overwrites your manual changes.