Checklists
In this menu, you have the option to create new checklists. These lists can later be reused in several places:
- clients
- orders
- quotations
- calendar entries
- kanban tasks
- tasks
It is important to note that the same checklist can be used multiple times in the above list. This means the same checklist can be assigned to a client, task, and quotation at the same time.
Because of this, if someone marks a step as completed in the checklist on the client page, that step will also be marked as completed in the quotation.
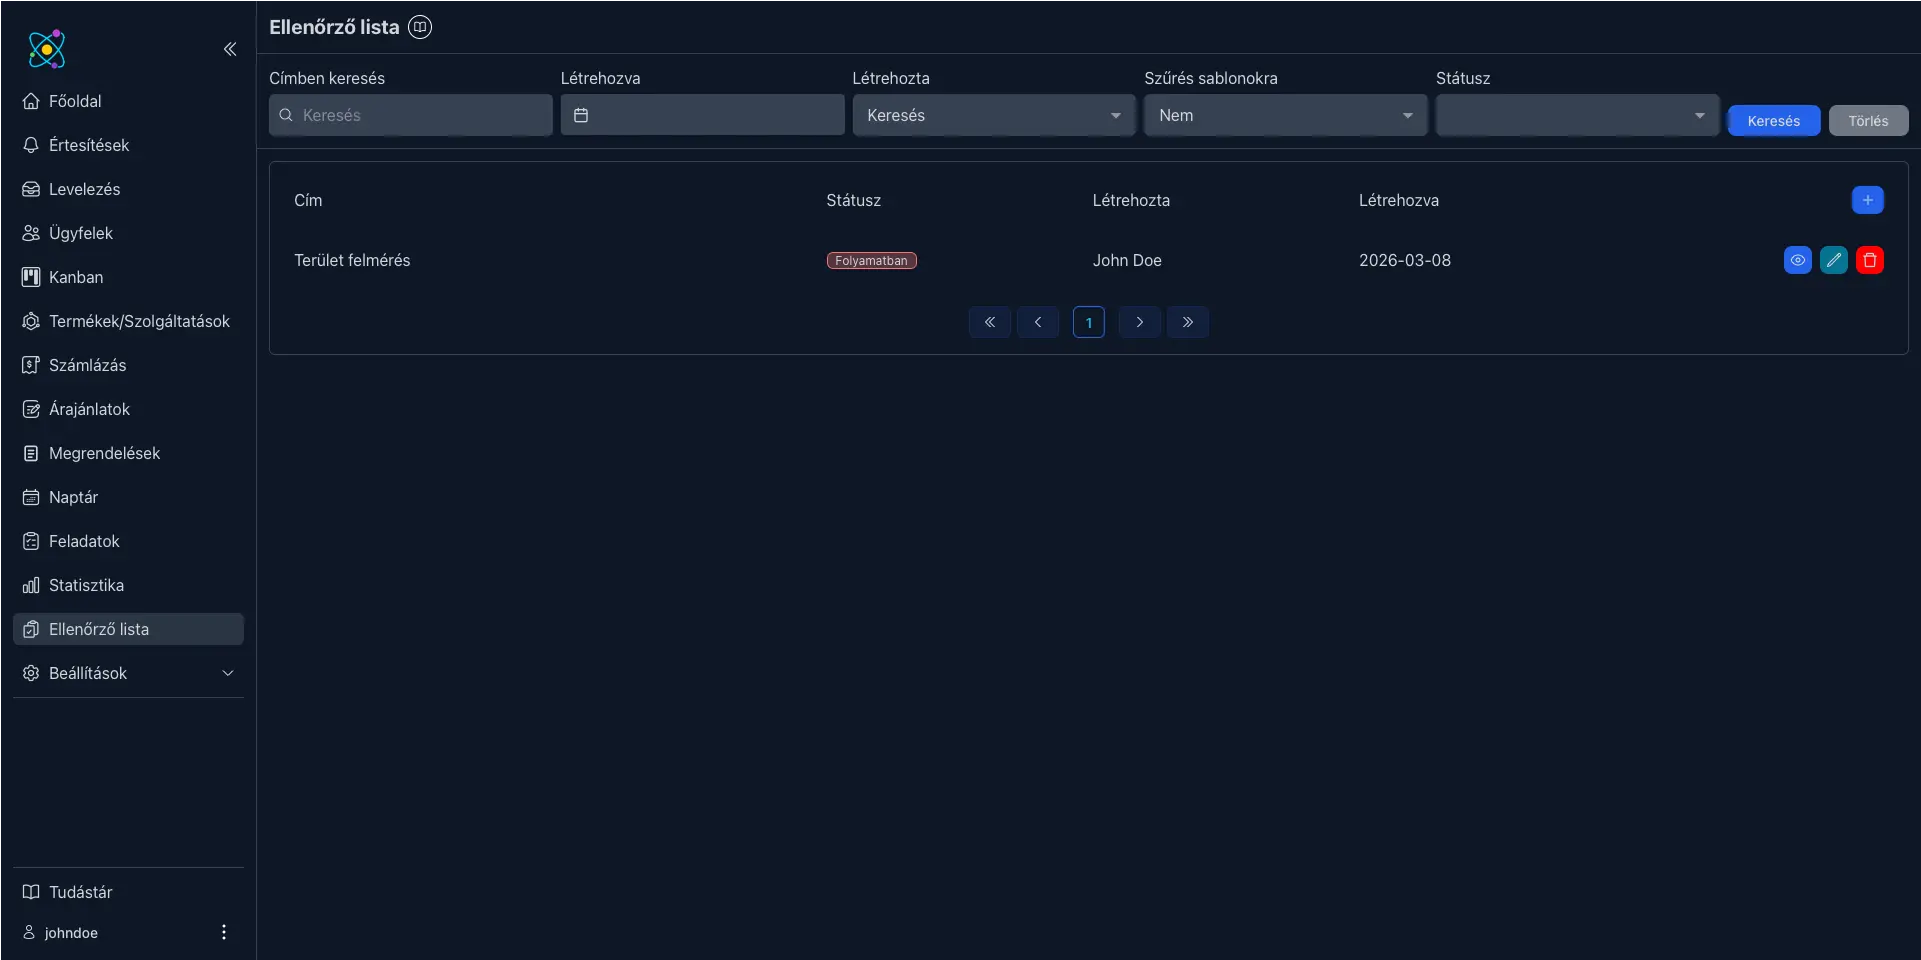
The image above shows how this menu is structured for users who have permission to access it.
At the top of the page, under the title, you will find the filters. By default, the system lists all non-template type tasks. We will return to templates later.
Below this row you will find the list, and on the right side of the table header you will see the add new row button (with a "+" icon).
At the end of each row you will find three buttons in the following order: details, edit, delete.
The last one is permission-based and can be assigned in the settings.
Details
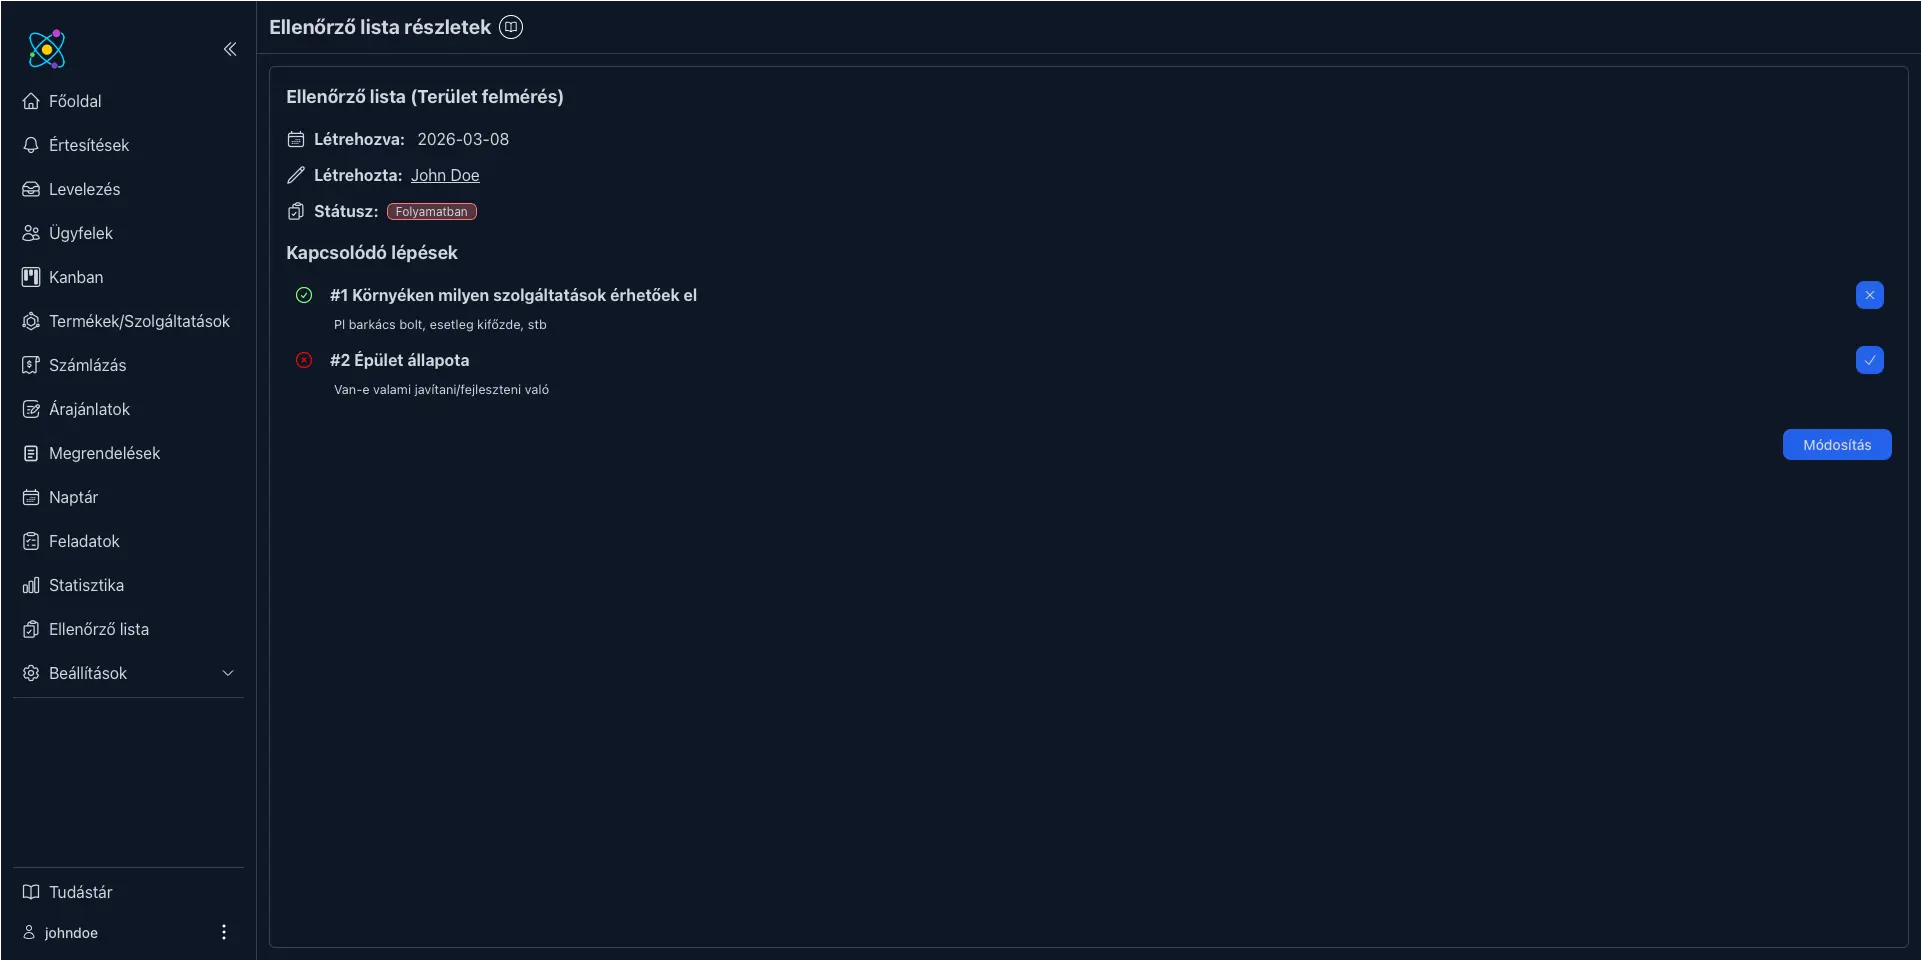
On this page you can see what data the given checklist was created with. The most important part here is the related steps, since these determine whether the checklist is marked as completed.
This can happen in two cases: either all steps are marked as completed, or the checklist is marked as completed on the create/edit interface.
You can mark a step as completed using the blue button at the end of the row (with a checkmark or "x" icon), or revert it back to incomplete.
Following the same logic, you can also click the green or red icon at the beginning of the row.
The same details view will appear for entities (client, quotation, order, task, etc.) where this checklist has been assigned (see the task details page as an example).
Create / Edit
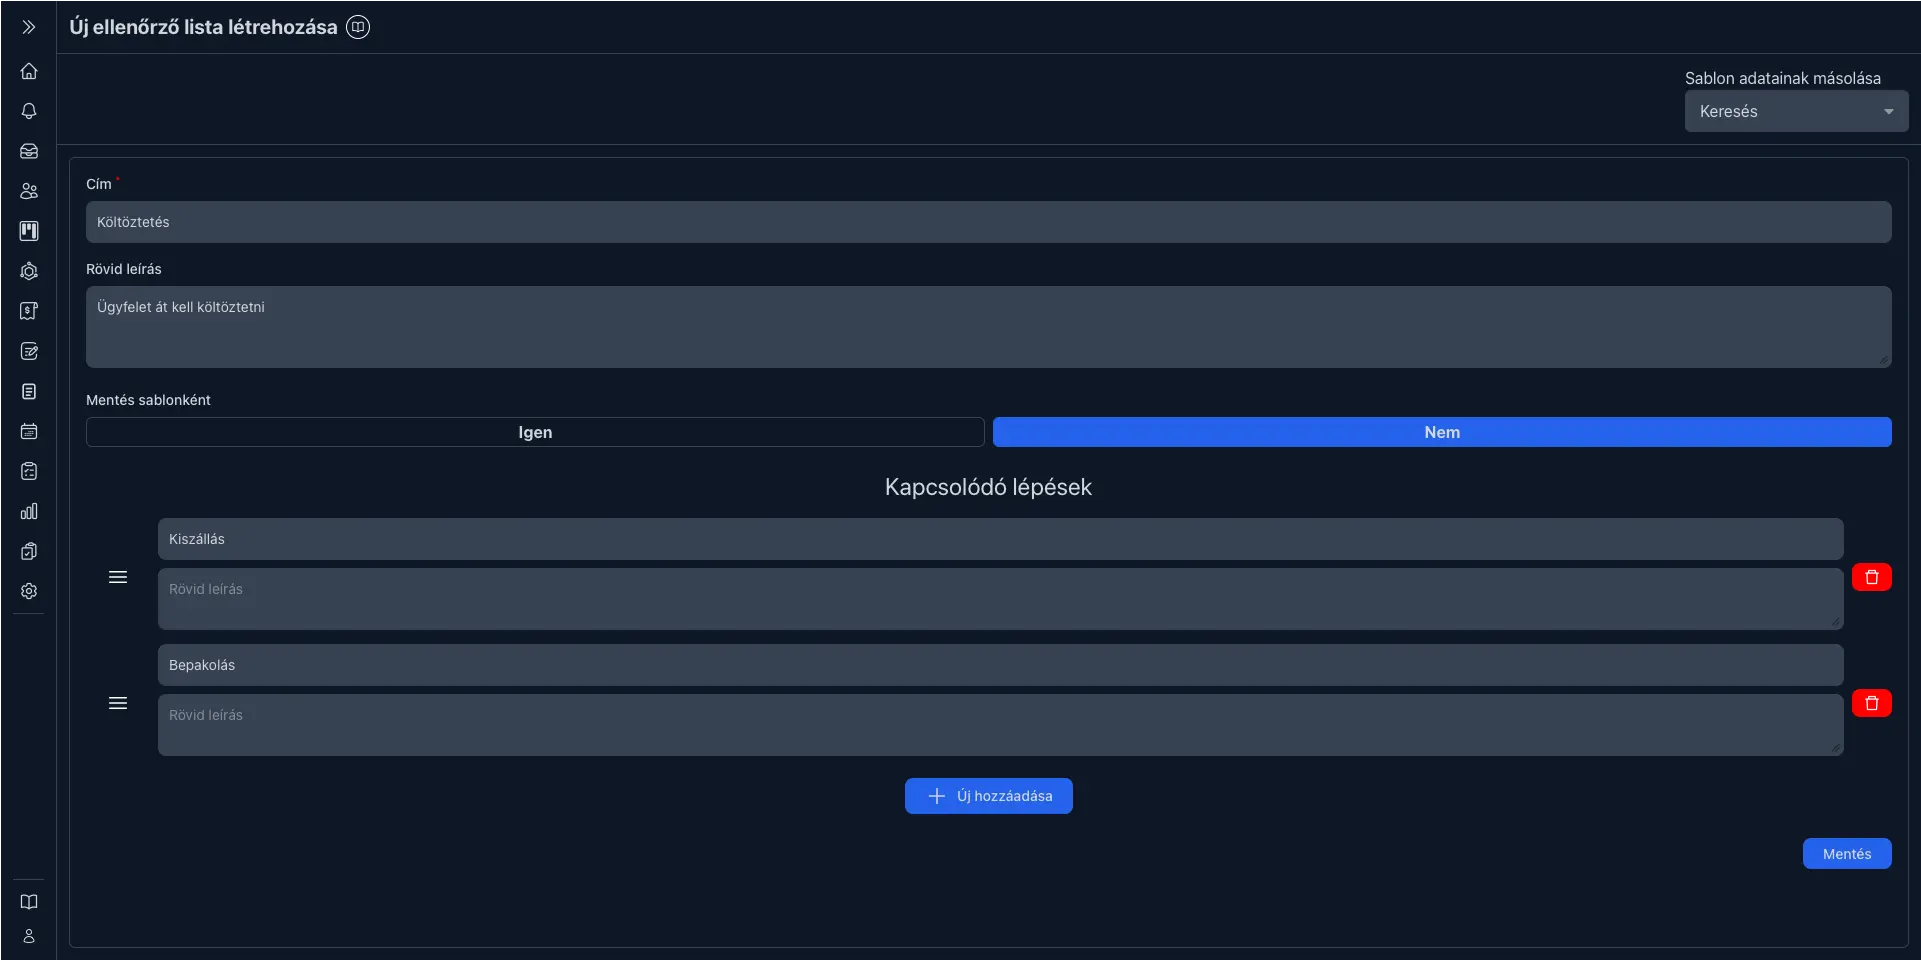
When creating a checklist, only a few pieces of information are required. If only 1–2 data fields are needed, it is enough to provide a title and at least one related step (with a title).
If you want to provide additional explanation either for the checklist itself or for one of its steps, you can also add a short description.
Two features that may be particularly interesting here are saving as a template and the order of related steps.
Let's start with saving as a template. If you save a checklist as a template, you won't need to create similar lists from scratch each time. Instead, the system will load the template’s data into the form, and you can then modify it if necessary to fit the current situation.
You can do this during creation by selecting a template from the "Copy template data" option located in the top-right corner of the screen.
It is important to note that this only copies the template’s data into the form — you are not editing the template itself.
Also important: templates cannot be selected anywhere else, only during creation. For example, you cannot directly assign a template to a client.
The order of related steps is not fixed and can be changed at any time. On the left side of each step row you will see a button with three horizontal lines. By clicking and holding this button, you can drag the step up or down to change its position. Releasing the left mouse button will apply the new order.
When editing a checklist, you also have the option to mark it as completed. In this case, not all steps need to be marked as completed individually — the checklist’s status can be set directly using this method.
Delete
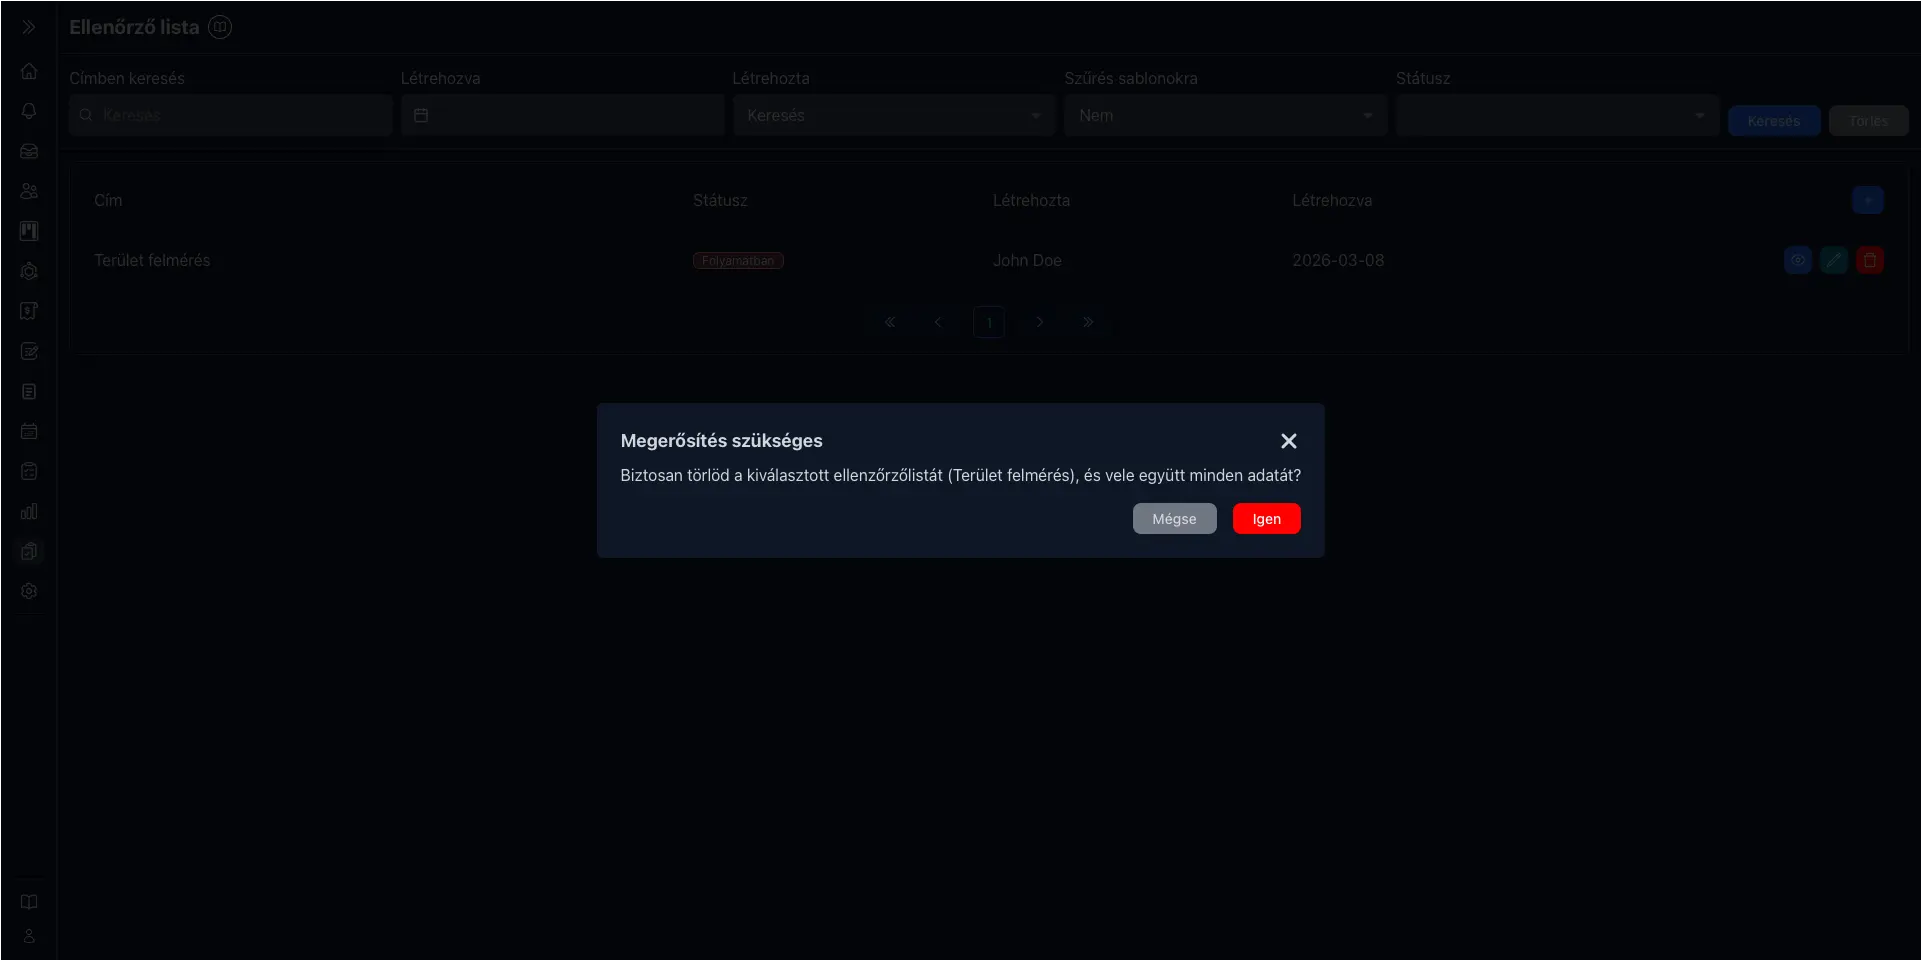
If you click the trash icon at the end of a row on the main page, you will have the option to delete the given checklist. When doing so, all data related to that row will be permanently removed.