Profile page
Since a user has a lot of data, we handle these separately. At the top of the page, you will find a category selector, and we will now go through these.
Basic data
On this tab, you will essentially find a short summary. In addition to the user’s name, you can also see what permissions they have, which departments they belong to, which email address was used to invite them to the system, and what type of user they are (you can read more about user types on the user settings page).
You cannot yet set a custom profile picture, this will be introduced in a later development.
You will also see a block labeled “Events.” Here you can see what actions the given user has taken in the past (or, if you are viewing your own profile, what you yourself have done).
Above the user’s name, if user labels have been added (you can read more about this here), and if such a label has been associated with the user (you can read more about how to do this below), they are listed in a row.
Personal information
This tab cannot be seen by just anyone, it can only be viewed with specific permissions (even the tab itself will not be visible without them). These data cannot be accessible to everyone, since the page may contain personal information. From an employer’s perspective, however, it may be important to quickly and easily access this information. You can edit your own data at any time.
Permission management
This tab/page is also accessible only with special permissions. On this page you can set what permissions the user has, which departments they belong to, which kanban boards they can access, what type of user they are, and you can also associate labels with the user here.
System Settings
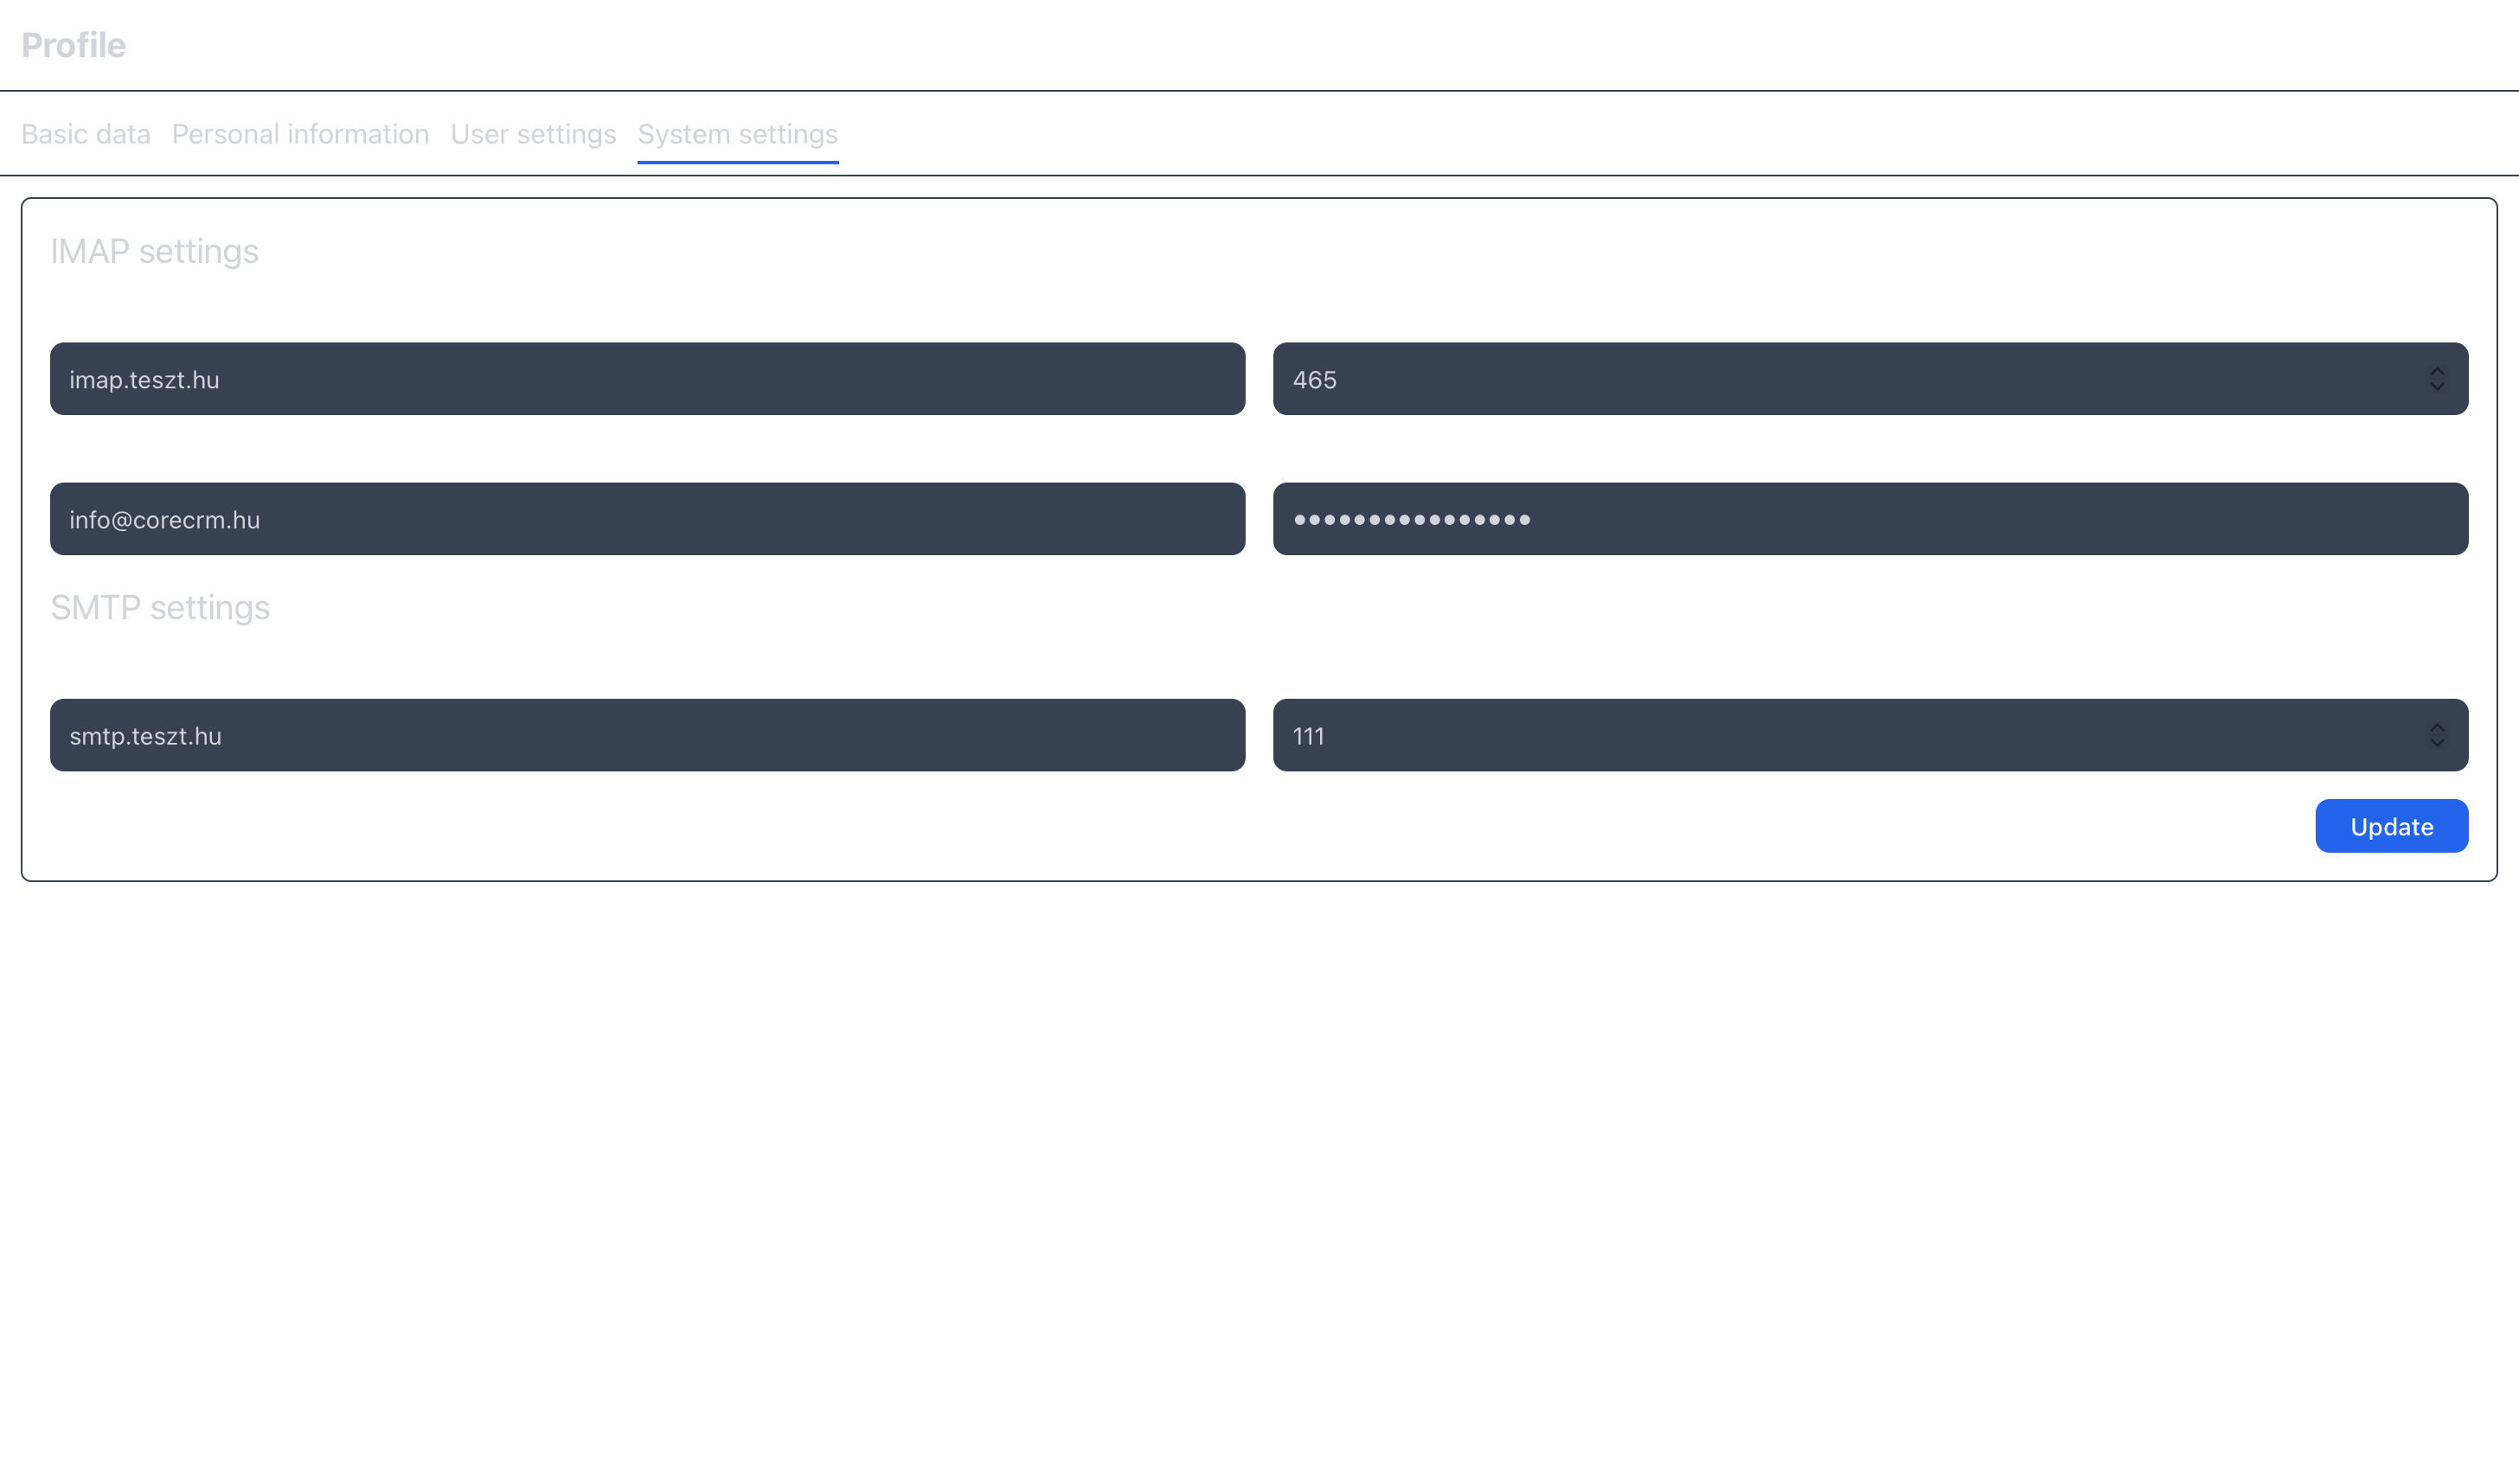
Access to this tab requires special permissions. Here you can configure the SMTP/IMAP settings associated with the selected profile.
This is important if you do not want to integrate a Gmail or Outlook account into the system, but instead want to use a custom email account, which is typically provided with a domain or by a telecommunications partner.
If you received an email address as part of a domain service, the SMTP/IMAP credentials are usually sent by the company providing the domain to the email address used when subscribing to the service.
Once all required data has been entered correctly, you can navigate to the Inbox menu and click the button with the “@” icon. After that, the emails received in your mailbox (if any) will be displayed.