Labels
Our labeling system has been designed so that you can create the structure that best suits your needs. By this, we mean that there are no built-in labels — you can create them yourself with custom text, colors, and groupings.
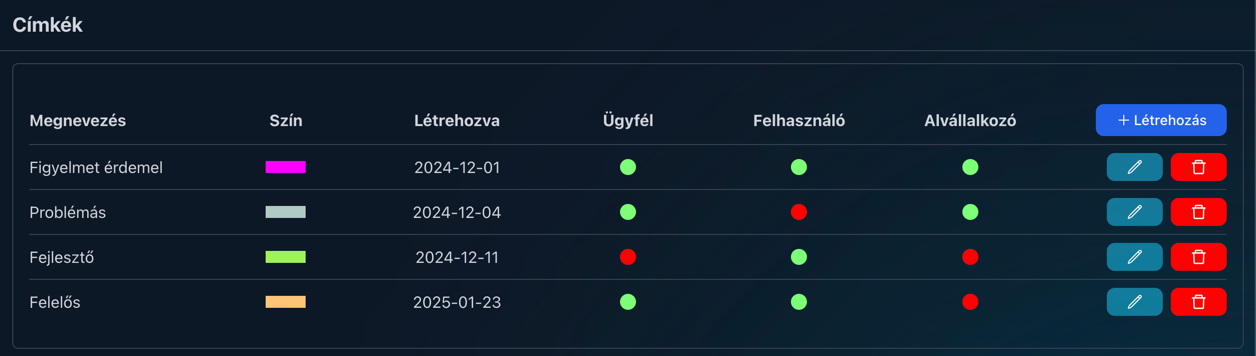
So how does it work?
Let’s start with creating a label.
In the table header, on the right-hand side, you’ll find a button labeled “Create.”
When you click on it, the following pop-up window will appear.
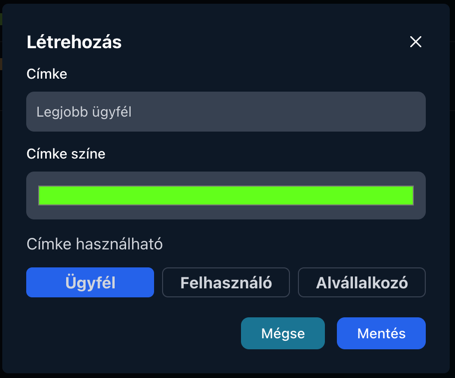
In the label input field, you can enter the label text, and in the “Label color” field below it, you can choose a color — this will be the background color of the label.
In the group selector below, the following logic applies:
- Client: this label can only be associated with a client (either a regular client or a subcontractor)
- User: this label can only be associated with a user
- Subcontractor: this label can only be associated with a client who has subcontractor status (you can read more about subcontractors on the clients page)
There is an AND relationship between the groups, meaning that if you select both “Client” and “User,” you can associate the given label with both clients and users.
However, if you create a label with both the “Client” and “Subcontractor” groups selected, you will not be able to associate that label with a user.
Important: if you select “Client,” you can still associate it with subcontractors. However, if you select the “Subcontractor” group, you will not be able to associate that label with a regular client.
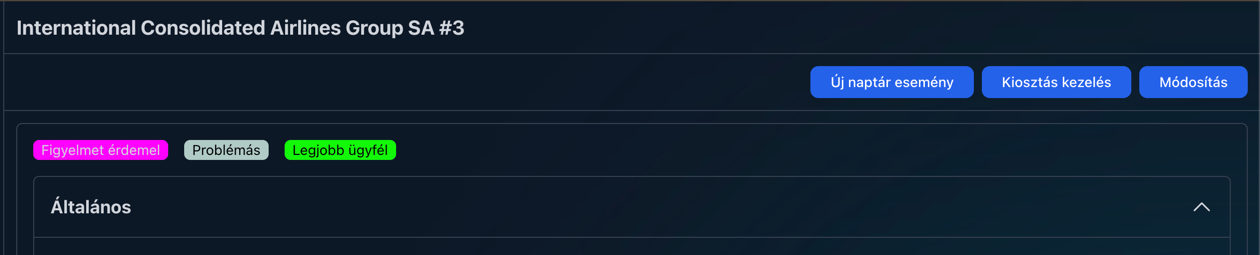
Example of the list of associated labels on the client page:
Editing works almost exactly the same way as creating a label — the only difference is that instead of clicking the “Create” button in the table header, you click the turquoise button in the corresponding row of the table.